The Ultimate Cold-Weather Camping Kit List for Weekend Adventures
Cold-weather camping is one of those things that sounds grim when you plan it and feels quietly brilliant once you are out there. A hard frost silvering the tent, the hiss of a stove at first light, a valley entirely to yourself because everyone else stayed in bed. Get a decent night's sleep and a hot breakfast, and you will wonder why you do not do this more often.
The catch is that sub-zero nights expose sloppy kit in a way summer never does. A sleeping bag that felt luxurious in July will have you shivering at two in the morning, and a mat that was fine on dry grass becomes a heat sink on frozen ground. You do not need to spend a fortune to stay warm. You need to get half a dozen things right, and to understand why they matter.
Start with the sleep system, from the ground up
Most people overspend on a bag and underspend on a mat. That is backwards. A sleeping bag only traps the warmth your body is still producing; the ground beneath you will pull heat out of you by conduction all night long. Insulation under your body is what stands between you and a very cold floor.
- Mat: Look for an R-value of around 4 or higher for sub-zero nights, and remember that inflatable mats vary enormously. If yours is marginal, slide a cheap closed-cell foam mat underneath it. The combination is warmer than either on its own and the foam doubles as a sit mat and a repair insurance policy.
- Bag: Read the comfort rating, not the extreme rating that manufacturers print in smaller type. If you sleep cold, choose a bag rated several degrees below the temperatures you expect. Down packs smaller and lasts longer; synthetic copes better with damp, which matters in a British winter.
- Liner: A silk or fleece liner adds a noticeable amount of warmth, keeps the inside of your bag clean and dries quickly.
- Pillow: A stuff sack filled with your spare fleece is better than a rolled-up jacket, which you will want to wear if the temperature drops.
Store the whole system in a dry bag inside your rucksack. A damp sleeping bag, even one that is only slightly damp, loses a surprising amount of its loft and its warmth.
Insulation you wear, not just sleep in
A common mistake is treating clothing as separate from sleep. It is not. What you wear in the evening and what you wear in the bag is one system, and the aim is to arrive at bedtime warm and dry rather than cold and clammy.
Start with a merino or synthetic base layer, avoid cotton entirely, and add a fleece or light synthetic jacket while you are cooking and moving around camp. A down or synthetic belay jacket goes on the moment you stop walking and comes off when you get into the bag. If you go to bed wearing everything you own, you will overheat, sweat, and wake up cold an hour later.
Small items that punch above their weight
A dry hat, a spare pair of thick socks and a pair of liner gloves live in a stuff sack and never come out except at night. Cold feet and a cold head are the two most reliable ways to ruin a night's sleep, and both are easy to fix. Keep your boots in a dry bag or inside the tent porch, not outside where they will freeze solid by morning.
Shelter: ventilation beats brute force
A four-season tent is built to shed wind and hold up under snow load, but its real advantage in British conditions is a lower profile and stronger poles. That said, a sturdy three-season tent will handle most UK winter camping if you pitch it sensibly: out of the wind, with the fly not touching the inner, guy lines properly tensioned and pegs angled away from the load.
Resist the urge to seal every vent. Condensation is the enemy of warmth, and a tent that traps every breath you exhale will leave the inside of your bag and the inner walls wet by dawn. Leave the low vents open and the top vent cracked, and pitch so the prevailing wind blows through rather than against the door.
Stoves, fuel and water below zero
Gas canisters lose pressure as the temperature falls, because the propane in the mix burns off first and leaves the butane struggling to vaporise. There are three practical answers: choose a canister with a higher propane or isobutane content, keep the canister warm inside your jacket or sleeping bag before use, or switch to an inverted canister or liquid-fuel stove that burns white gas or paraffin and does not care about the cold.
Whatever you use, a windscreen makes an enormous difference. So does a decent base so the stove is not sitting directly on snow or frozen ground. Expect to burn noticeably more fuel than in summer, especially if you are melting snow for drinking water, which takes far more heat than most people anticipate.
Water bottles freeze overnight. Fill them with hot water before bed, wrap them in a sock, and you have both a hot drink supply and a free hot water bottle. Drink more than you think you need; dehydration makes you feel the cold far more sharply.
The safety kit that earns its weight
Cold weather reduces your margin for error, so this is the part of the pack you should not trim. Beyond the basics, the following are worth the grams:
- Head torch with spare batteries, plus a small backup: darkness arrives early in winter, and batteries lose capacity in the cold, so keep spares in an inside pocket.
- Emergency shelter or bothy bag: a light, cheap piece of kit that turns a bad situation into a survivable one.
- Spare warm layer and a Blizzard-style blanket that lives in the pack and never gets used for anything else.
- First aid kit with a foil blanket, plus any personal medication.
- Repair kit: mat patches, pole splint, tape, spare cord and a multitool.
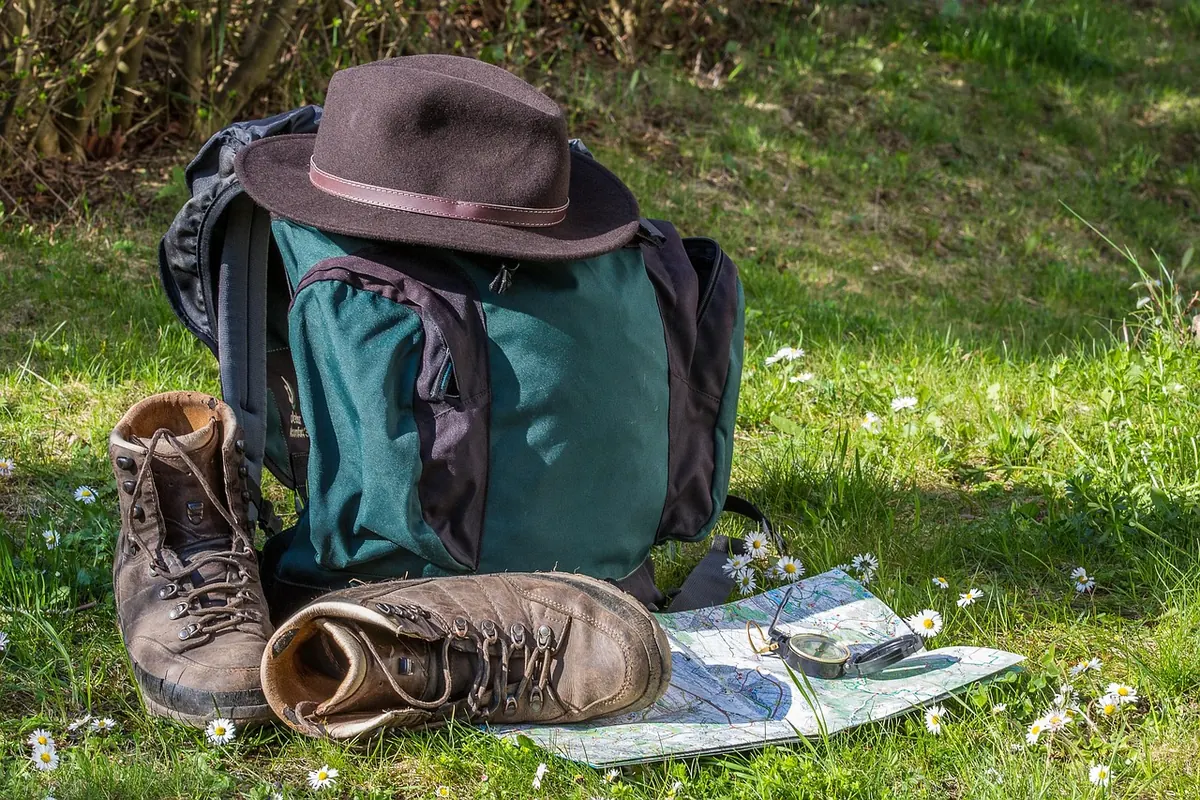
- Communication: a charged phone in a warm inner pocket, a paper map and compass you can actually use, a whistle and, for remote trips, a personal locator beacon.
- Extra food you would not normally eat, kept for emergencies.
Learn to recognise the early signs of hypothermia in yourself and in others, and treat them seriously rather than pushing on. If you are heading somewhere remote or unfamiliar, a winter skills course or a day out with an experienced group is time and money well spent. For anything medical, take proper professional advice rather than relying on a kit list.
Make the night easier before it starts
Arrive and pitch in daylight. Cold, tired and fumbling with guy lines in the dark is how mistakes happen. Eat something hot and substantial before bed, have a snack and a flask within reach of your sleeping bag, and deal with the toilet trip before you get comfortable rather than at three in the morning.
Then, before you commit to a full weekend, test the system in your garden on a frosty night. It costs nothing, you can retreat indoors at two in the morning if it goes wrong, and you will learn exactly which piece of your kit is letting you down. Fix that one item, and the next trip will be the one you remember for the right reasons.
Photo: 8moments / Pixabay
Adventure Quests in New Zealand: 10 Challenges for Your Bucket List
Ten hiking, paddling and cycling challenges across New Zealand's North and South Islands, with honest...
Solo Travel in Iceland: A Story of Weather, Roads and Wild Camping
Twelve days alone on Iceland's Ring Road: reading the wind, learning Route 1's habits, and how campsite...
About Us